
In this small tutorial, you will learn how to install SEOCMS to your shared/dedicated hosting. The process is fast and easy.
The very first is to purchase SEOCMS from our website. If you have already purchased it, then this tutorial is for you.
What Are Requirements To Install SEOCMS?
1. License key
2. MySQL Database
3. Some knowledge
Step 1. For getting a license, it's mandatory to purchase SEOCMS. If you purchase from our website, you will get the License key immediately to your email. If you purchase from any third-party vendor like Legiit, you will need to contact us with the transaction information and you will get your license key within 24 hours.
Below is a sample email you will receive when you purchase SEOCMS -
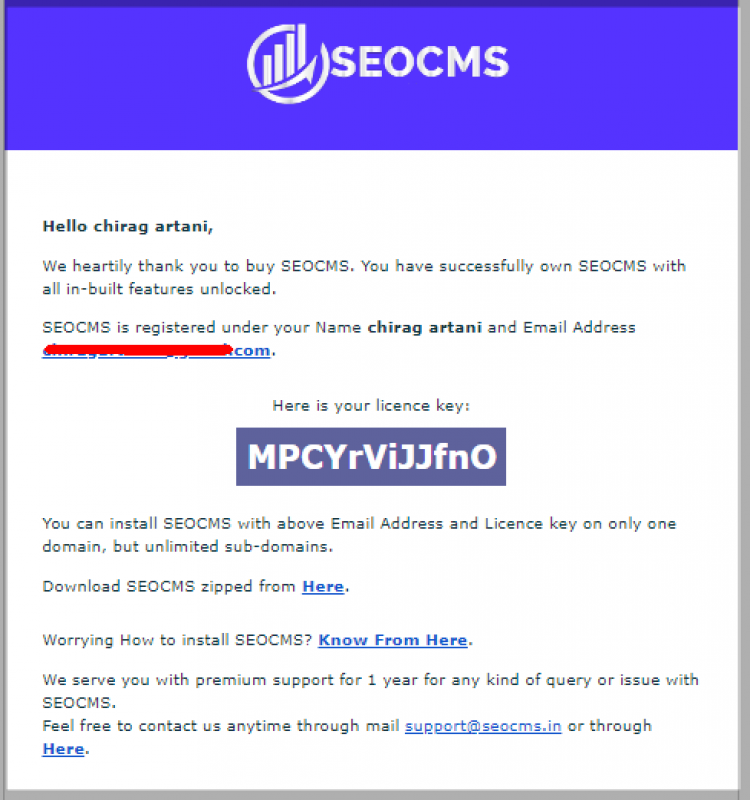
Download the zip file from the mentioned link and copy this license key.
Step 2. Upload the setup files in the hosting server and extract it.
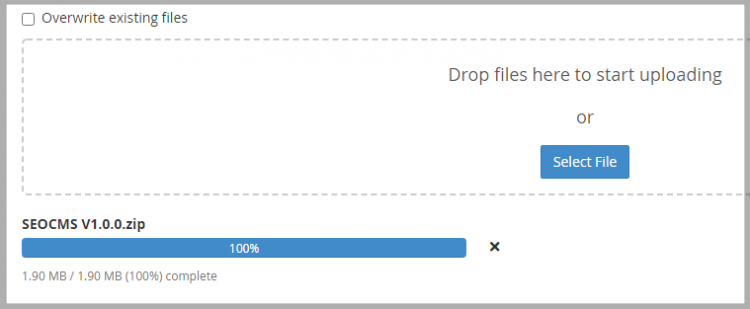
Extract:
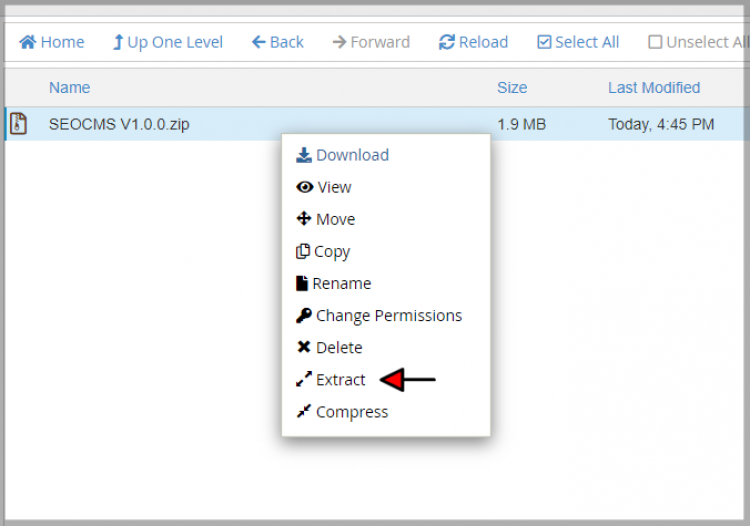
After extraction, You can install it by simply opening the path in your browser where you have uploaded & extracted the setup file.
Step 3. Enter the email used to register SEOCMS and your license key -
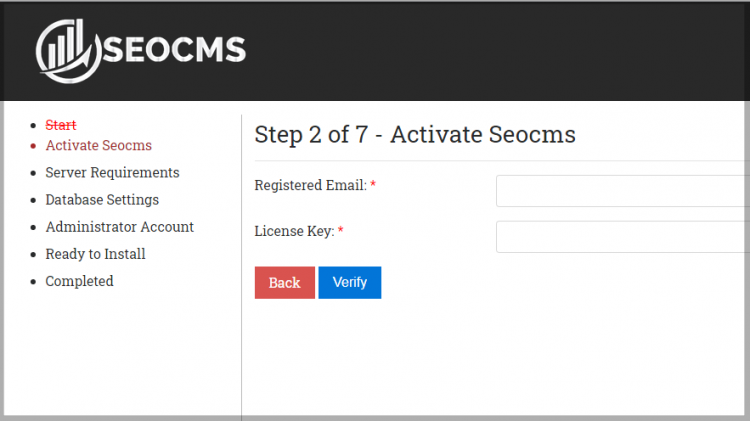
As the license gets verified, you will move to the next step.
Step 4. Setting up your Database
In this step, you would need to create a database and a database user.
How to create a database and database user?
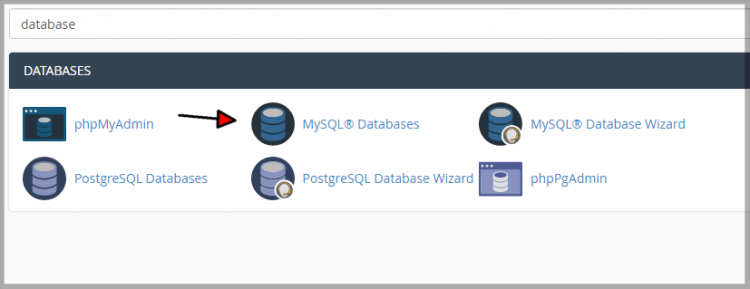
1. Open your hosting cPanel and search there "Database" and open it -
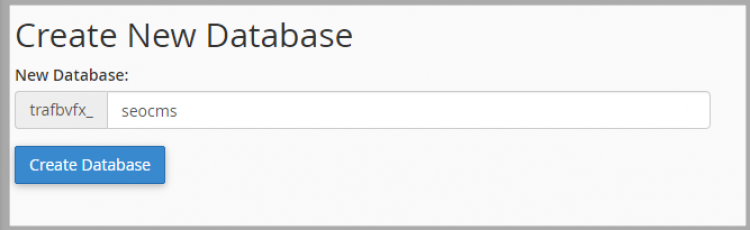
2. Enter database name such as "seocms" and click on Create Database.
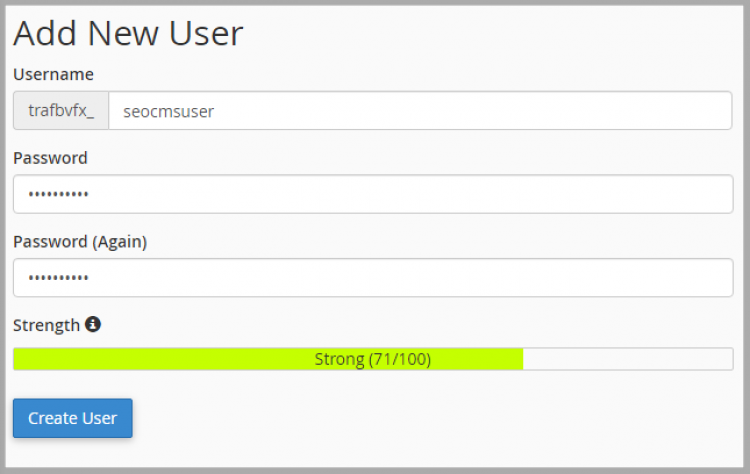
3. Create a user for the database from the same page below.
If you have the user created, then leave this step, but we highly recommend creating a separate user for extra database security.
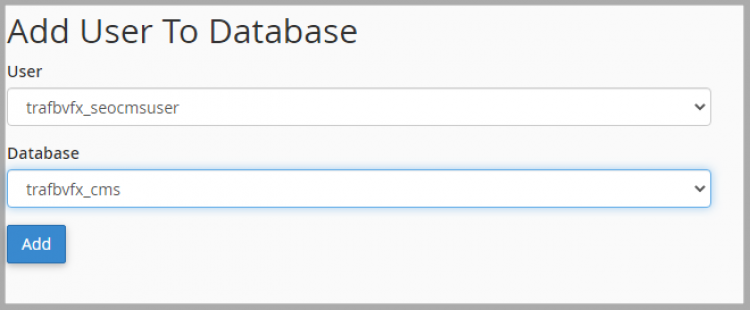
4. Give complete authority to the created user for seocms database
You can find this on the same page, Select the created user in the first option and created database in the second option.
5. Give all the privileges
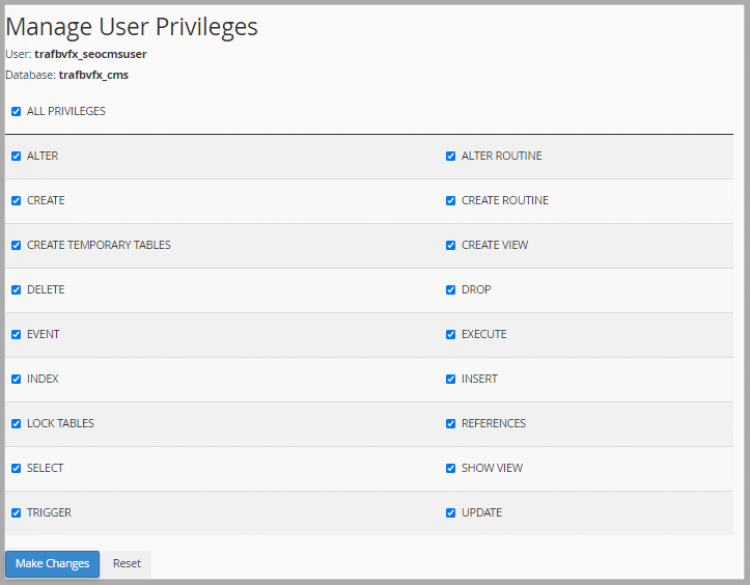
Click on Make Changes and done. Come back to the SEOCMS Installation page.
Step 4. Enter the database details in below page. In most cases, the Database Host is set to localhost. If you are unsure, about the host, you can ask the hosting provider about the Database Host.
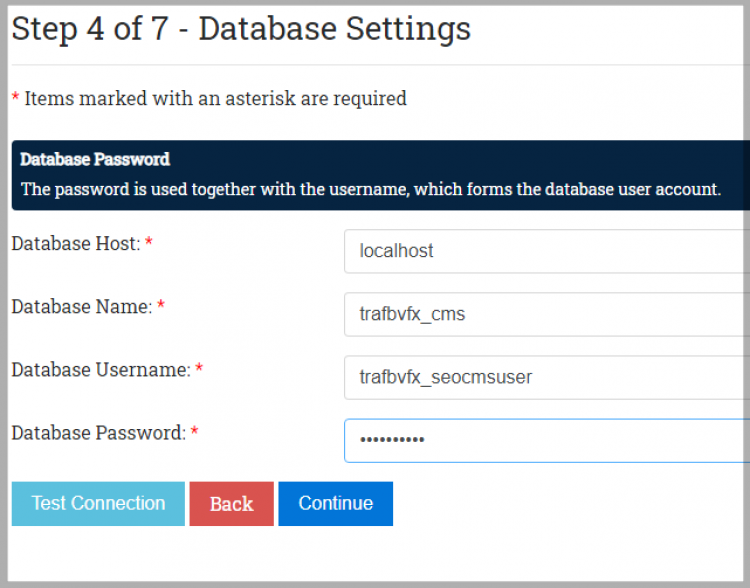
Click on button - "Test Connection" to know if database details are successfully configured or not then click on Continue.
Step 5. Admin Details
Enter details which you want to set Admin login, password, admin email, path, site name, etc.
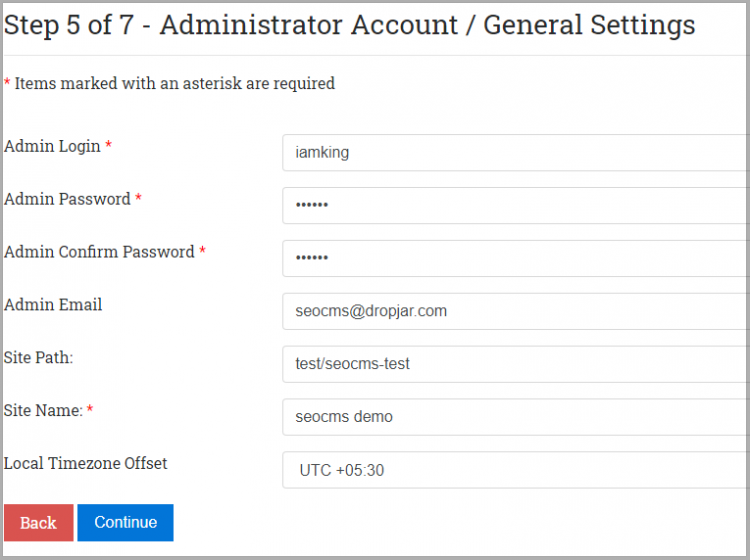
After filling all the details, continue to next step.
Step 6. Click on continue to install done. SEOCMS is successfully installed to your website. Just in case you get any error in any step, you can quickly reach out to SEOCMS Support.
Now you can log in to the admin page and start blogging.
If you have any problem with the installation process, then you can contact us at support@seocms.in
Thank You For Reading!